

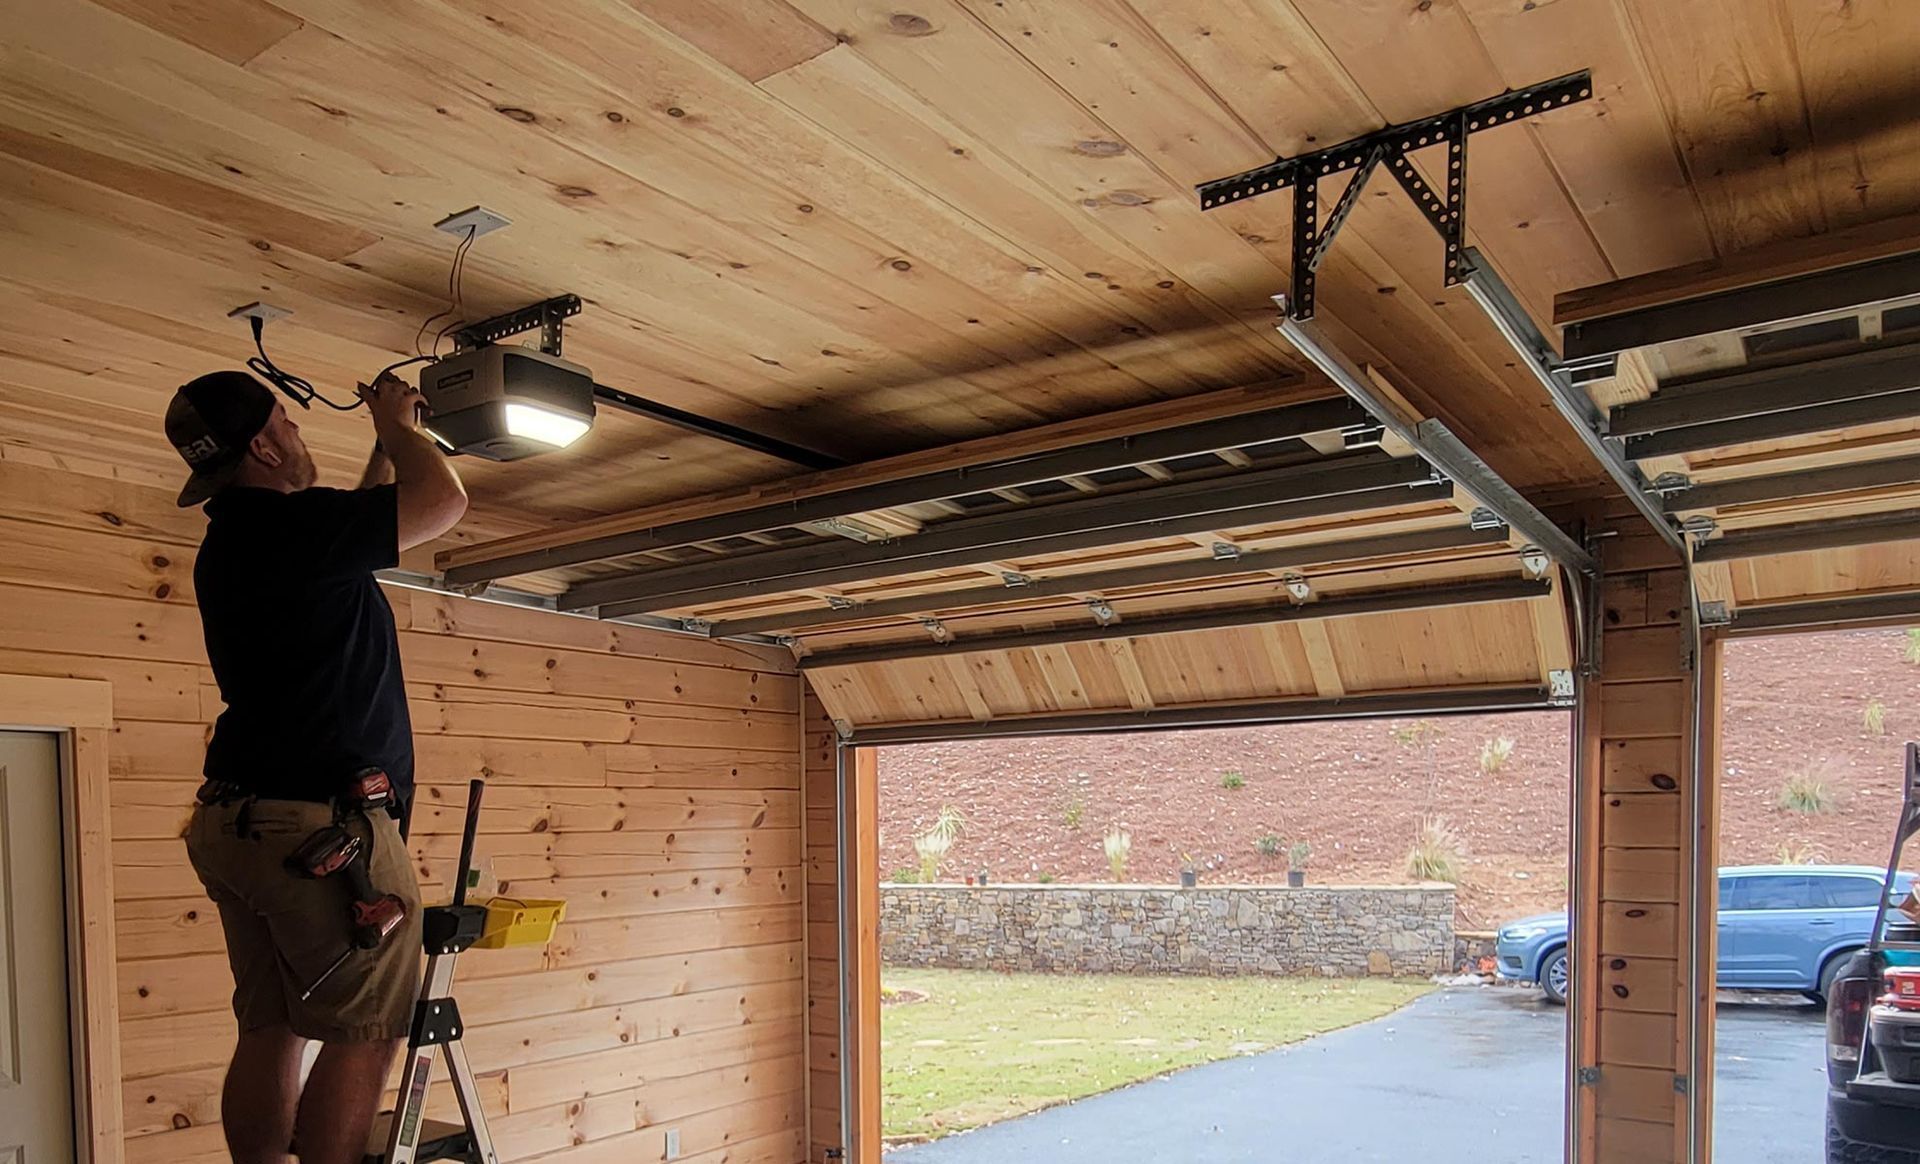
What to Expect From a Local Garage Door Installation
September 25, 2026

September 25, 2026

A new garage door can improve the appearance, security, convenience, and overall function of a home, but the installation process involves more than simply removing one door and attaching another. Homeowners may need to choose a door style, confirm measurements, select materials and hardware, prepare the opening, and understand how the new system will operate once the work is complete. Scheduling a local garage door installation can make this process easier by giving homeowners access to professionals who can evaluate the existing setup and explain what is required before installation begins. Knowing what to expect can also help homeowners prepare the garage, ask useful questions, and understand how long different parts of the project may take. From the initial inspection through final testing, each stage contributes to a garage door that fits the opening properly and operates as intended.


Reviewing the Existing Garage Door System

The process usually begins with an evaluation of the current garage door and the surrounding opening. An installer may inspect the existing panels, tracks, springs, rollers, opener, framing, and mounting areas to determine what can remain and what should be replaced. The condition of the garage itself can also affect installation. Damaged framing, uneven surfaces, deteriorated hardware, or limited overhead clearance may require additional attention before the new door can be installed correctly.


During a local garage door installation, this initial review also provides an opportunity to identify potential compatibility issues before work begins. The installer may check whether the existing opener can support the new door, whether additional reinforcement is needed, and whether the tracks and spring system should be replaced. Homeowners can use this stage to discuss concerns about noise, insulation, security, or ease of operation. Understanding the existing setup helps create a clearer plan for the installation and reduces the likelihood of unexpected complications once the old door is removed.


Confirming Measurements and Door Specifications

Accurate measurements are essential because the garage door must fit the opening while leaving enough clearance for tracks, springs, and other operating components. Installers typically measure the width and height of the opening, along with the available headroom, side room, and backroom. According to Bob Vila, an online home improvement resource, standard garage doors typically measure seven to ten feet in width and seven to eight feet in height. Even when an opening falls within those common dimensions, it still needs to be measured individually before a door is ordered.


A local garage door installation may also involve confirming the specific door material, panel design, insulation level, window configuration, color, and hardware selected by the homeowner. These details can affect both appearance and performance. A heavier insulated door, for example, may require different springs or greater opener capacity than a lighter model. Confirming specifications before installation helps ensure that the ordered components match the garage and the homeowner's preferences. It also gives homeowners a final opportunity to verify design choices before the work moves forward.


Removing the Old Door and Hardware

Once the work area is prepared, the installer can begin removing the existing garage door. This generally involves disconnecting the opener, releasing spring tension, removing panels, and taking down tracks and other hardware that will not be reused. Garage door springs are under significant tension, so this part of the project should be handled carefully by trained professionals. The removal process may look straightforward, but improper handling can cause equipment damage or injury.


During a local garage door installation, the condition of the opening may become easier to evaluate after the old door and hardware are removed. Installers may notice worn mounting surfaces, damaged wood, corrosion, or other conditions that were hidden behind the previous system. If small adjustments are needed, they may be completed before the new components are installed. Clearing away the old system also allows the installer to verify that the new tracks and hardware can be positioned correctly and that the opening is ready for the replacement door.


Installing and Adjusting the New Door

The new system is typically assembled in stages. Installers may begin with the bottom section and gradually add panels, hinges, rollers, tracks, springs, cables, and other hardware. Each component needs to be aligned so the door can move smoothly without binding or placing unnecessary stress on the system. Once the door is assembled, spring tension and track alignment can be adjusted to help balance the weight and support consistent movement.


A local garage door installation may also include connecting or replacing the automatic opener. The installer can attach the opener to the new door, adjust travel limits, and check force settings so the door opens and closes correctly. Weatherstripping and seals may also be installed around the perimeter to reduce drafts and help protect the garage from moisture, dust, and debris. Careful adjustment is important because even a properly sized door may not function well if tracks, springs, or opener settings are not aligned with the new system.


Testing Safety Features and Operation

After the main installation is complete, the system should be tested before the project is considered finished. Installers can open and close the door several times to confirm that it moves evenly, remains balanced, and does not make unusual noises. Automatic openers should also be checked to confirm that controls, remotes, keypads, and other accessories operate properly. If the system includes photo-eye sensors or automatic reversal features, those components should also be tested.


As part of a local garage door installation, the installer may also explain basic operation and maintenance to the homeowner. This can include showing how to use the manual release, how to test the door balance, which components may require periodic lubrication, and what warning signs should prompt professional service. Homeowners may also receive information about warranties, recommended maintenance intervals, or replacement parts. A final walkthrough gives the homeowner an opportunity to ask questions and become familiar with the system before the installation crew leaves.


Planning for Ongoing Garage Door Maintenance

Even a newly installed garage door benefits from regular attention. Moving components such as rollers, hinges, springs, and tracks experience repeated use and may gradually wear over time. Homeowners can visually inspect the system for loose hardware, unusual gaps, frayed cables, or changes in how the door moves. Keeping the tracks clear of debris and following manufacturer recommendations for lubrication can also support smoother operation.


After a local garage door installation, homeowners should also pay attention to changes in sound, speed, balance, or opener performance. A door that suddenly becomes difficult to lift, closes unevenly, or begins making new grinding or squeaking noises may need professional evaluation. Routine maintenance can help identify small concerns before they become larger problems. Understanding how the system should normally operate makes it easier to recognize changes and arrange service when necessary.


A garage door installation involves several coordinated steps, including evaluating the existing system, taking accurate measurements, preparing the garage, removing old components, installing the new door, testing safety features, and reviewing maintenance needs. Knowing what to expect can help homeowners prepare the space and understand why each stage matters. A local garage door installation can also provide an opportunity to ask questions about door materials, opener compatibility, insulation, hardware, and ongoing care before the project is complete. Careful installation and proper adjustments can help support reliable operation and make the finished system easier to use. If you are planning to replace or upgrade your garage door and want professional guidance through the process, contact Tier1 Garage Doors.

By 7049874133 • July 14, 2026
LED bulbs have become the go-to lighting choice for homeowners thanks to their energy efficiency, long lifespan, and low heat output. They're an excellent option for garage door openers and garage lighting. However, many homeowners are surprised to learn that certain LED bulbs can create an unexpected issue: interference with garage door remote signals. At Tier 1 Garage Door, we've helped countless homeowners troubleshoot garage door opener problems that were ultimately traced back to LED lighting and other electronic devices. Understanding how interference works can save you time, frustration, and unnecessary service calls. Why LED Bulbs Are Popular for Garage Door Openers LED bulbs offer several advantages over traditional incandescent bulbs: They consume significantly less electricity. They last much longer than standard bulbs. They produce less heat, making them safer for enclosed fixtures. They require less frequent replacement, reducing maintenance. For these reasons, many garage door manufacturers recommend LED lighting for opener units. The Hidden Problem: Radio Frequency Interference One of the most common causes of garage door remote range problems is radio frequency (RF) interference. Your garage door remote communicates with the opener using radio signals. If another device creates electrical noise on a similar frequency, it can disrupt that communication. Unfortunately, some LED bulbs—particularly inexpensive or lower-quality models—can generate electrical interference that affects the signal between your remote and garage door opener. When this happens, homeowners often notice that their remote suddenly stops working from normal distances and only functions when standing very close to the garage door. Signs Your LED Bulbs May Be Causing Interference If you've recently changed bulbs in your garage door opener or garage lighting, watch for these common symptoms: Reduced remote control operating range Delayed response when pressing the remote button Inconsistent garage door operation Remote working only when you're near the opener Problems that appeared shortly after changing bulbs Many homeowners assume their remote battery is failing or the opener itself is malfunctioning when the real culprit is signal interference. Smart Garage Door Systems Can Be More Sensitive Today's garage door operators often include advanced features such as: Wi-Fi connectivity Smartphone controls Integrated cameras Smart home integration While these features add convenience, they can also increase the system's sensitivity to electronic interference. Multiple wireless devices operating in the same area can create additional opportunities for signal disruption. Other Devices That Can Affect Remote Range for your Garage Door Opener LED bulbs aren't always the only source of interference. Several common garage electronics may impact garage door remote performance, including: LED shop lights Security camera systems Battery chargers Wi-Fi routers Smartphone chargers Smart home devices In some cases, interference issues seem to come and go depending on which devices are powered on at the time. This can make diagnosing the problem more challenging. A Reliable LED Option We Recommend At Tier 1 Garage Door, we typically use SYLVANIA ECO LED A19 60W bulbs as a cost-effective lighting solution for garage door operators. These bulbs have performed well in many installations while providing the energy savings and longevity homeowners expect from LED technology. How to Test for Interference in your Garage Door Whenever you install new bulbs or add electronic devices to your garage, it's a good idea to test your garage door remote from normal operating distances. If you notice changes in range or response time, try these troubleshooting steps: Remove or temporarily turn off the suspected device. Test the remote again from your usual distance. Replace questionable LED bulbs with a recommended alternative. Check for other electronics that may have been recently installed. Contact a professional garage door technician if the issue persists. Early testing can help identify interference problems before they become ongoing frustrations. Trust Tier 1 Garage Door for Expert Garage Door Solutions Garage door opener technology continues to evolve, and sometimes even a simple bulb change can affect system performance. If your remote suddenly loses range, responds inconsistently, or stops working reliably, interference may be the cause. The experienced team at Tier 1 Garage Door can help diagnose opener issues, recommend compatible products, and ensure your entire system operates safely and reliably. Contact Tier 1 Garage Door today for expert garage door opener service, repair, and troubleshooting. Frequently Asked Questions 1. Can LED bulbs interfere with garage door remotes? Yes. One of the most common causes of garage door remote range issues is radio frequency interference from LED bulbs. Certain bulbs can generate electrical noise that disrupts communication between the remote and the opener. 2. Why does my garage door remote only work when I'm close to the door? This is often a sign of signal interference. Cheap or low-quality LED bulbs may create electrical noise that reduces the effective operating range of your garage door remote. 3. Are smart garage door openers more susceptible to interference? Garage door operators equipped with Wi-Fi, cameras, or smart home connectivity can be more sensitive to interference issues because they utilize additional wireless and electronic components. 4. Can other electronics in my garage affect my garage door remote? Yes. Devices such as LED shop lights, security cameras, battery chargers, Wi-Fi routers, and even some phone chargers can interfere with garage door remote signals. 5. What are the warning signs of garage door opener signal interference? Delayed response times and reduced remote operating distance after changing bulbs or installing new electronics are common indicators of signal interference. Testing your remotes after making these changes can help identify problems early.
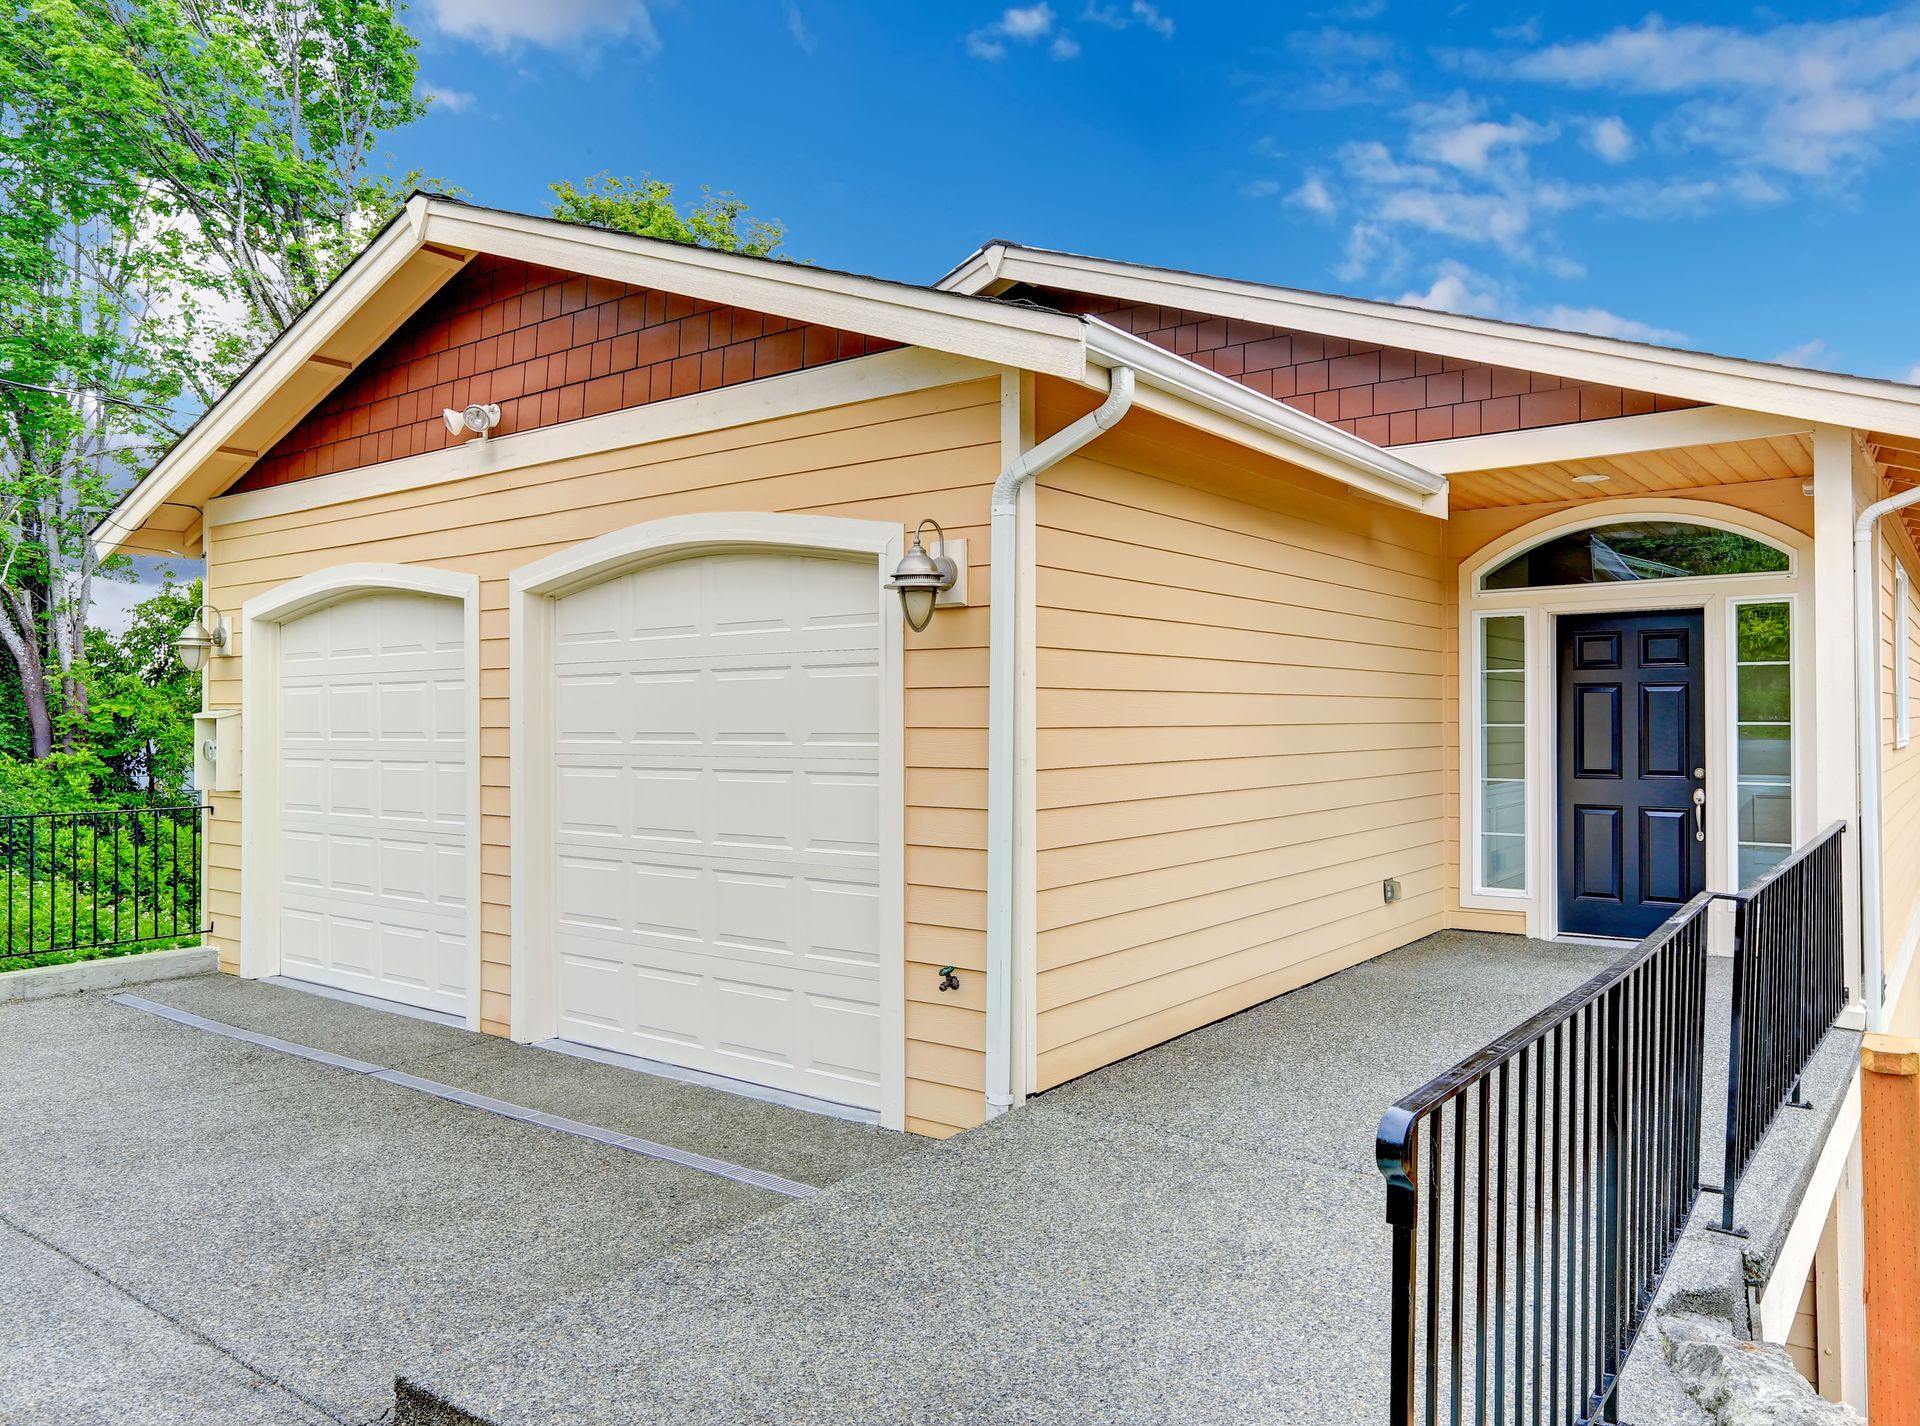
local garage door installations
April 29, 2026
Are you curious about local garage door installations? Read this helpful, detailed article. It covers all the advantages of working with local professionals.
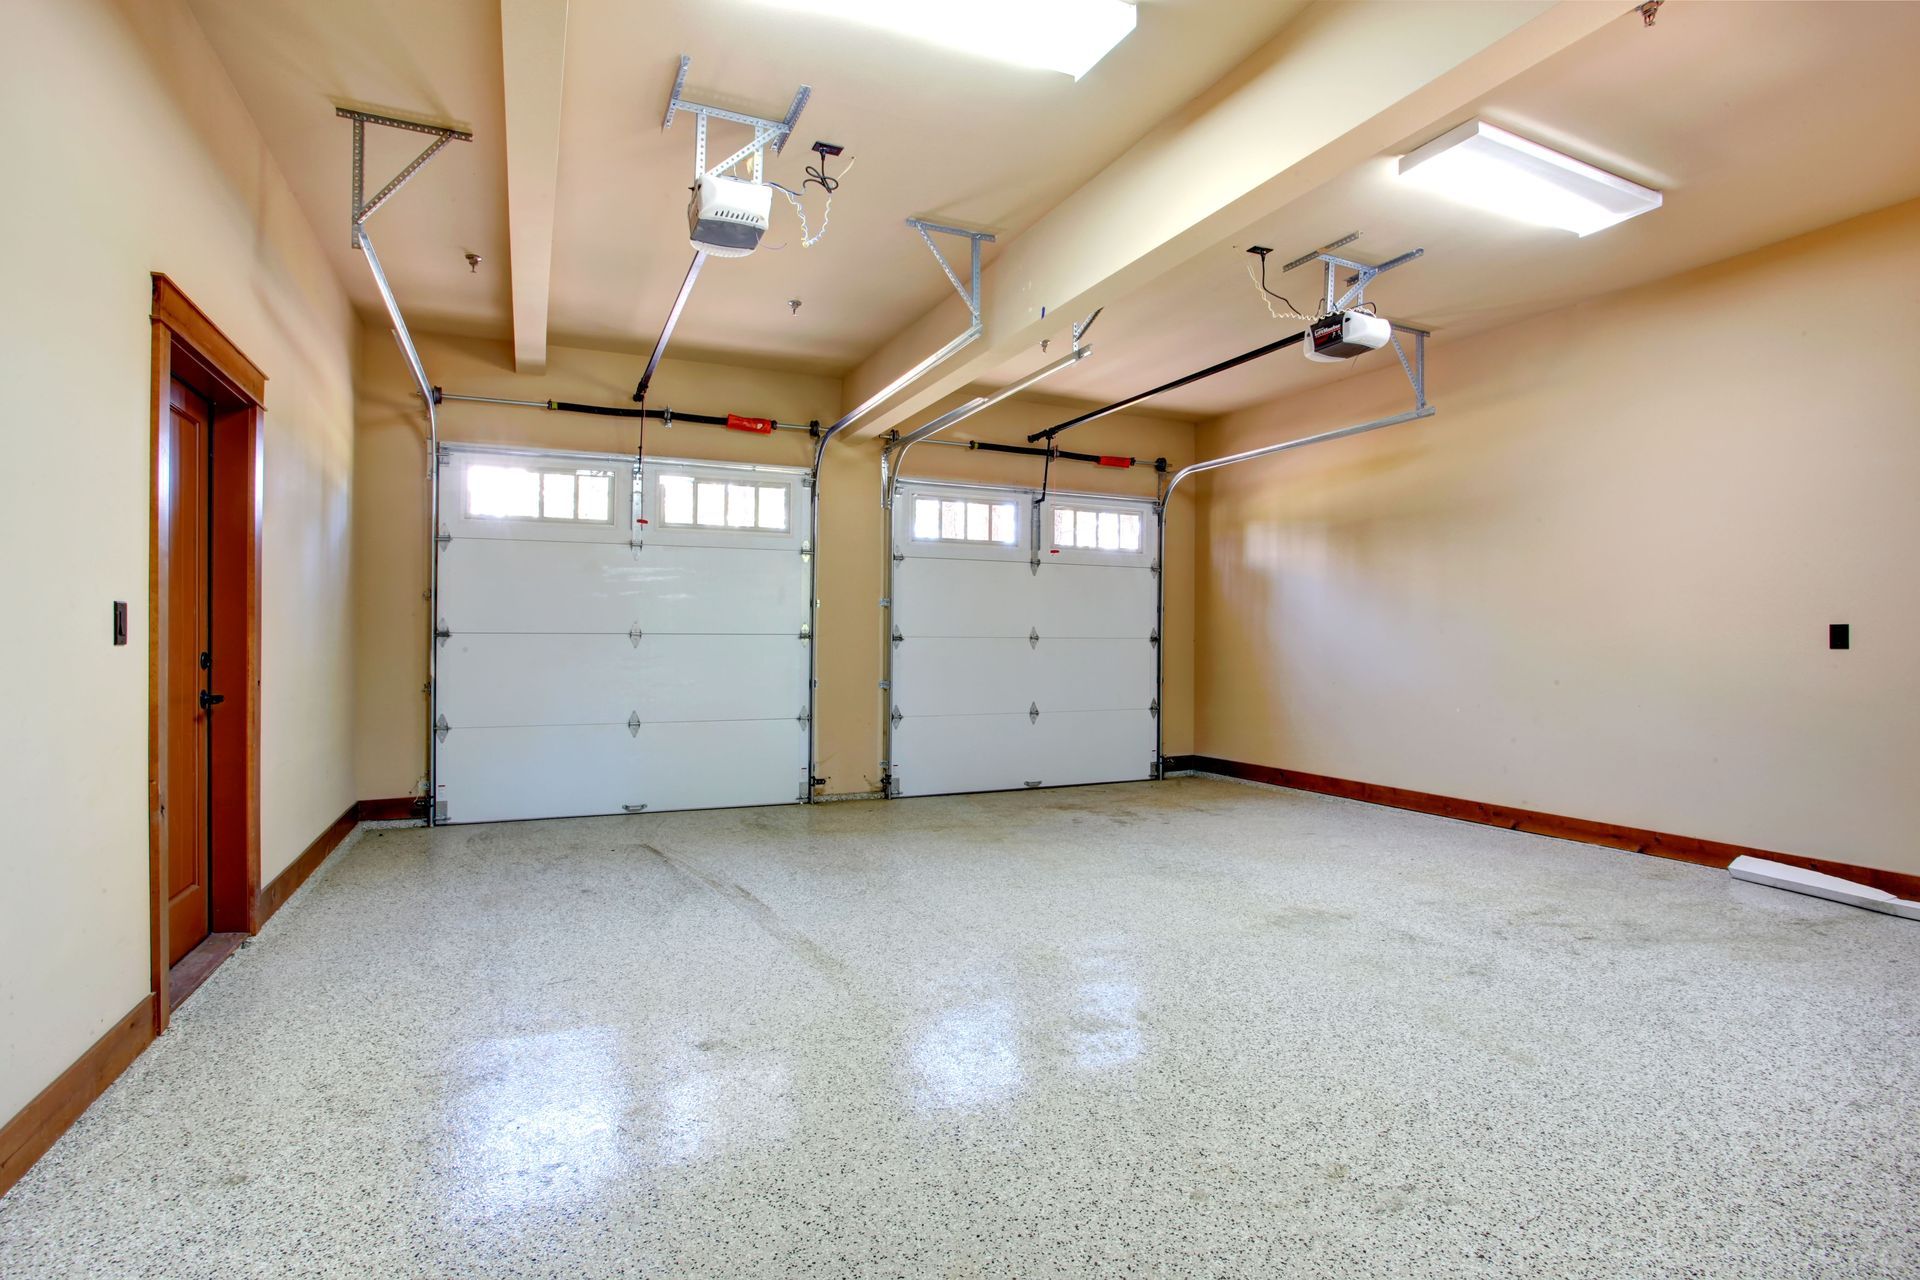
April 16, 2026
Garage door repair companies ensure that garage doors function correctly and securely, providing a barrier against unauthorized entry and potential threats.

Show More →